
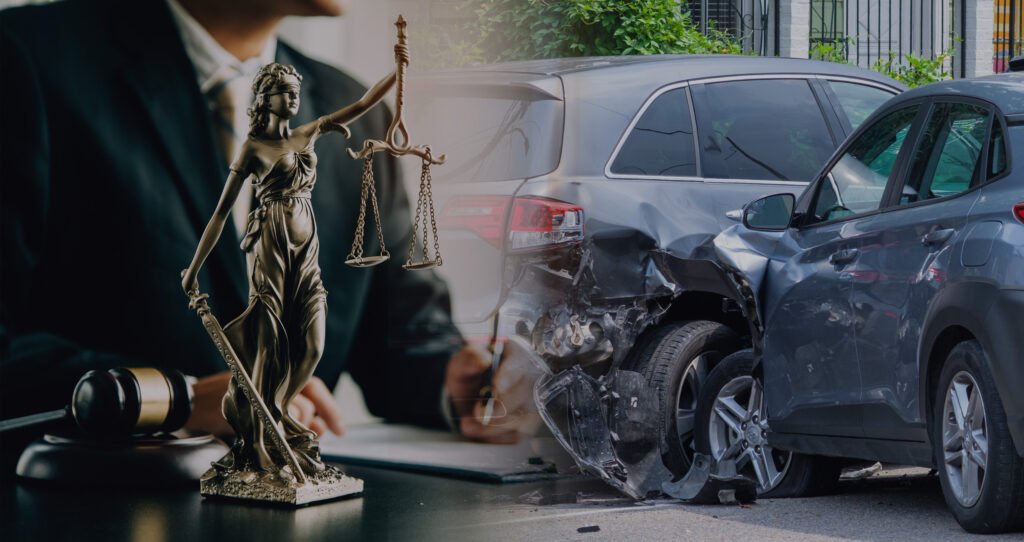
How to Take Accident Scene Photos with Your Smartphone: A Lawyer’s Checklist
- By Car Accident Lawyer Tacoma WA
- car accident attorneys near me car accident evidence Car Accident Lawyer Tacoma car accident photos car injury lawyer near me insurance claim personal injury tacoma car accident attorney tacoma car accident lawyer what to do after accident
- With 0 comments
Table of Contents
ToggleHow to Take Accident Scene Photos with Your Smartphone: A Lawyer’s Checklist
In the chaotic moments after a car accident, your smartphone is transformed from a communication device into the most powerful evidence-gathering tool you own. The photos and videos you capture in the first few minutes can tell the story of the crash with more clarity and objectivity than any verbal account. They can prove the other driver ran a red light, show the true severity of the impact, and counter any false narratives that may arise later.
But taking effective photos is about more than just pointing and shooting at a dent. To build the strongest possible case, you need to think like a forensic photographer. You need to capture the context, the details, and the consequences of the crash.
Don’t worry—you don’t need any special skills. You just need a plan. This is a lawyer’s official checklist for exactly what to photograph to create a comprehensive and compelling visual record of your accident.
Useful Information for You: In a Nutshell
- Tell a Story: Your photos should tell a complete story, moving from wide, overall views of the scene to medium shots of the vehicles, and finally to close-ups of the specific damage.
- More is Always Better: You can never take too many photos. Take pictures from every conceivable angle and distance.
- Capture the Context: Photograph traffic signs, signals, weather conditions, and road hazards. These details are crucial for establishing how the accident happened.
- Document All Damage: Take detailed photos of the damage to all vehicles involved, not just your own.
- Safety First: Never stand in a dangerous position or active traffic lane to get a photo. Your safety is always the top priority.
The Checklist: Your Shot-by-Shot Guide
Open your camera app and follow these steps methodically.
Part 1: The “Big Picture” – Documenting the Scene
(Goal: Show where and how the accident happened)
- ☐ Four Corners of the Scene: If you are in an intersection, stand on each of the four corners (if safe) and take a wide shot of the entire area. This captures the positions of the cars and all relevant traffic controls.
- ☐ The “Driver’s Eye View”: Walk about 50-100 feet back from the crash in the direction you were traveling and take a photo toward the scene. Do the same for the other driver’s direction of travel. This helps show what each driver saw leading up to the impact.
- ☐ Road Conditions: Take pictures of the road surface. Is it wet? Is there snow or ice? Are there potholes or is it an uneven surface?
- ☐ Weather and Lighting: Capture the general weather conditions. If sun glare was a factor, try to safely take a photo that shows how it was affecting visibility.
Part 2: The “Medium Shots” – Showing Relationships and Evidence
(Goal: Connect the vehicles to the surrounding evidence)
- ☐ Vehicle Positions: Before any cars are moved, take multiple photos showing where they came to rest in relation to each other, lane markings, curbs, and traffic signs.
- ☐ Skid Marks and Debris: Get clear shots of any tire marks on the pavement. Also, photograph any broken glass, plastic parts, or fluid leaks on the road, as this helps pinpoint the exact location of the impact.
- ☐ Traffic Signs and Signals: Take specific, readable photos of any stop signs, speed limit signs, or yield signs that were relevant to the accident.
Part 3: The “Close-Ups” – Detailing the Damage
(Goal: Prove the severity and nature of the impact)
- ☐ Damage to All Vehicles: Walk around every single vehicle involved and take pictures of every point of damage, no matter how minor. Get photos from multiple angles—straight-on, from the side, and from a 45-degree angle.
- ☐ Point of Impact: Take very specific close-ups of the primary points of impact on each car. Look for paint transfer between the vehicles, as this is excellent evidence.
- ☐ License Plates: Get a clear, straight-on, readable photo of every vehicle’s license plate.
- ☐ Interior Damage (If Applicable): If an airbag deployed, photograph it. If a personal item inside the car was broken (like a laptop), document that as well.
Part 4: The “Documentation” – Proof of Identity and Injury
(Goal: Record the official details and visible harm)
- ☐ The Other Driver’s Documents: Politely ask to photograph the other driver’s license, insurance card, and vehicle registration. This is often more accurate than writing it down.
- ☐ Your Visible Injuries: If you have any visible cuts, scrapes, or bruises, take clear photos of them as soon as possible after the accident.
By following this checklist, you are no longer just a victim of the circumstances; you are an active participant in building your own case. This library of photos will be the most valuable asset you can provide to your attorney.
Once you have gathered this crucial evidence, the next step is getting a professional to use it. If you’ve been in a car accident in the Tacoma area, search the Car Accident Lawyer Directory Tacoma. Compare profiles and find a trusted local attorney who knows exactly how to analyze your photos and build them into a powerful and persuasive case.
References
- Insurance Information Institute (III) – “Documenting an accident”:
A reputable national resource that provides a clear checklist for consumers on what to do after an accident, with a strong emphasis on photography.
https://www.iihs.org/topics/vehicle-insurance#documenting-an-accident
- National Safety Council (NSC) – “What to Do After a Car Crash”:
An authoritative guide from a leading safety organization that details the importance of documenting the scene with photos.
https://www.nsc.org/road-safety/safety-topics/what-to-do-after-a-car-crash
- Washington State Patrol (WSP) – Collision Reports:
The official report often relies on on-scene evidence, and having photos can help ensure the officer’s report is accurate.
https://www.wsp.wa.gov/driver/collision-reports/

We hope that through this article, you have a better understanding of your situation after a car accident and feel that you are not alone. The most important part of your recovery is protecting your rights with the right information.
If you need to connect with an expert who will listen to your story and fight on your side, find the best car accident lawyers in Tacoma through a free consultation at the Car Accident Lawyer Directory Tacoma.
Information
Find a Lawyer
Tacoma Car Accident Lawyers
Ask A Lawyer
Google Search Result
Washington State Traffic Accident Information